
![]()
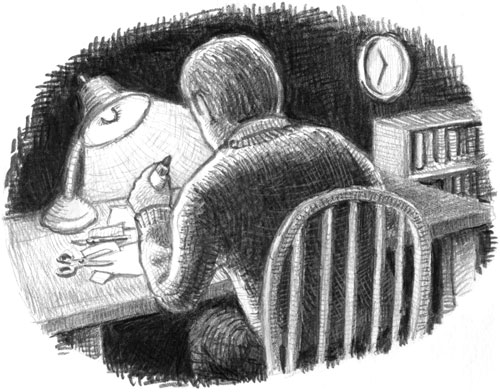
Twas the night before Christmas, when all through the house, not a creature was stirring, except a tired paper model maker who just had to glue one more piece before going to bed.
Santa's Workshop will likely take several evenings to put together. Unless you are one of Santa's elves, there's no need to rush to finish before midnight, so take your time and follow each step of construction carefully.
These symbols are used on the model:
Cut along edge |
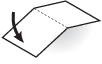
Mountain fold
|
Mountain fold
|
To cut out the pieces of the model, use a scissors or a hobby knife and ruler on a cutting mat. A tweezers can help fold the tabs of the smallest pieces.
To score the dotted fold lines, scratch the paper surface lightly with a knife run along a ruler to make a straight, crisp crease.
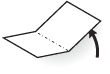
For valley folds, poke a knife tip or pin through the paper at the little triangles to mark the fold line, then flip the paper over to score on the back.
To make the round tower and rooftops, press a round pencil or dowel against the paper in your palm to bend into a smooth circle.
The model is best assembled with ordinary craft glue. Squeeze the pieces together with tweezers to set the glue quickly.
Look through the instructions on each page of the model to find ideas and optional steps for detailing your Santa's Workshop model.
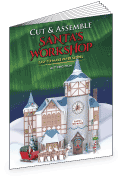 Order the Santa's Workshop model book
Dover Publications, 2017: ISBN 978-0-486-81902-0. Paper model ©Matt Bergstrom, Wurlington Press